This page provides an overview of all steps required to use and manage policies. We recommend familiarizing yourself with the basic concepts behind policies first.
Accessing Policy Manager
Policy Manager can be accessed in the Governance module and selecting a policy page on the left-hand navigation menu.
In order to access Policy Manager, you must be granted at least one of the policy roles in at least one account. Contact your account administrator to obtain access if needed. For more detail on the different policy roles, see the policy roles pages.
Registering a Credential
Many policies require cloud credentials in order to gather data and perform remediation actions - for these policies, a credential must be registered with Flexera before applying the policy. Registering a credential generally required administrator privileges in both the API provider as well as in Flexera.
Applying a Policy
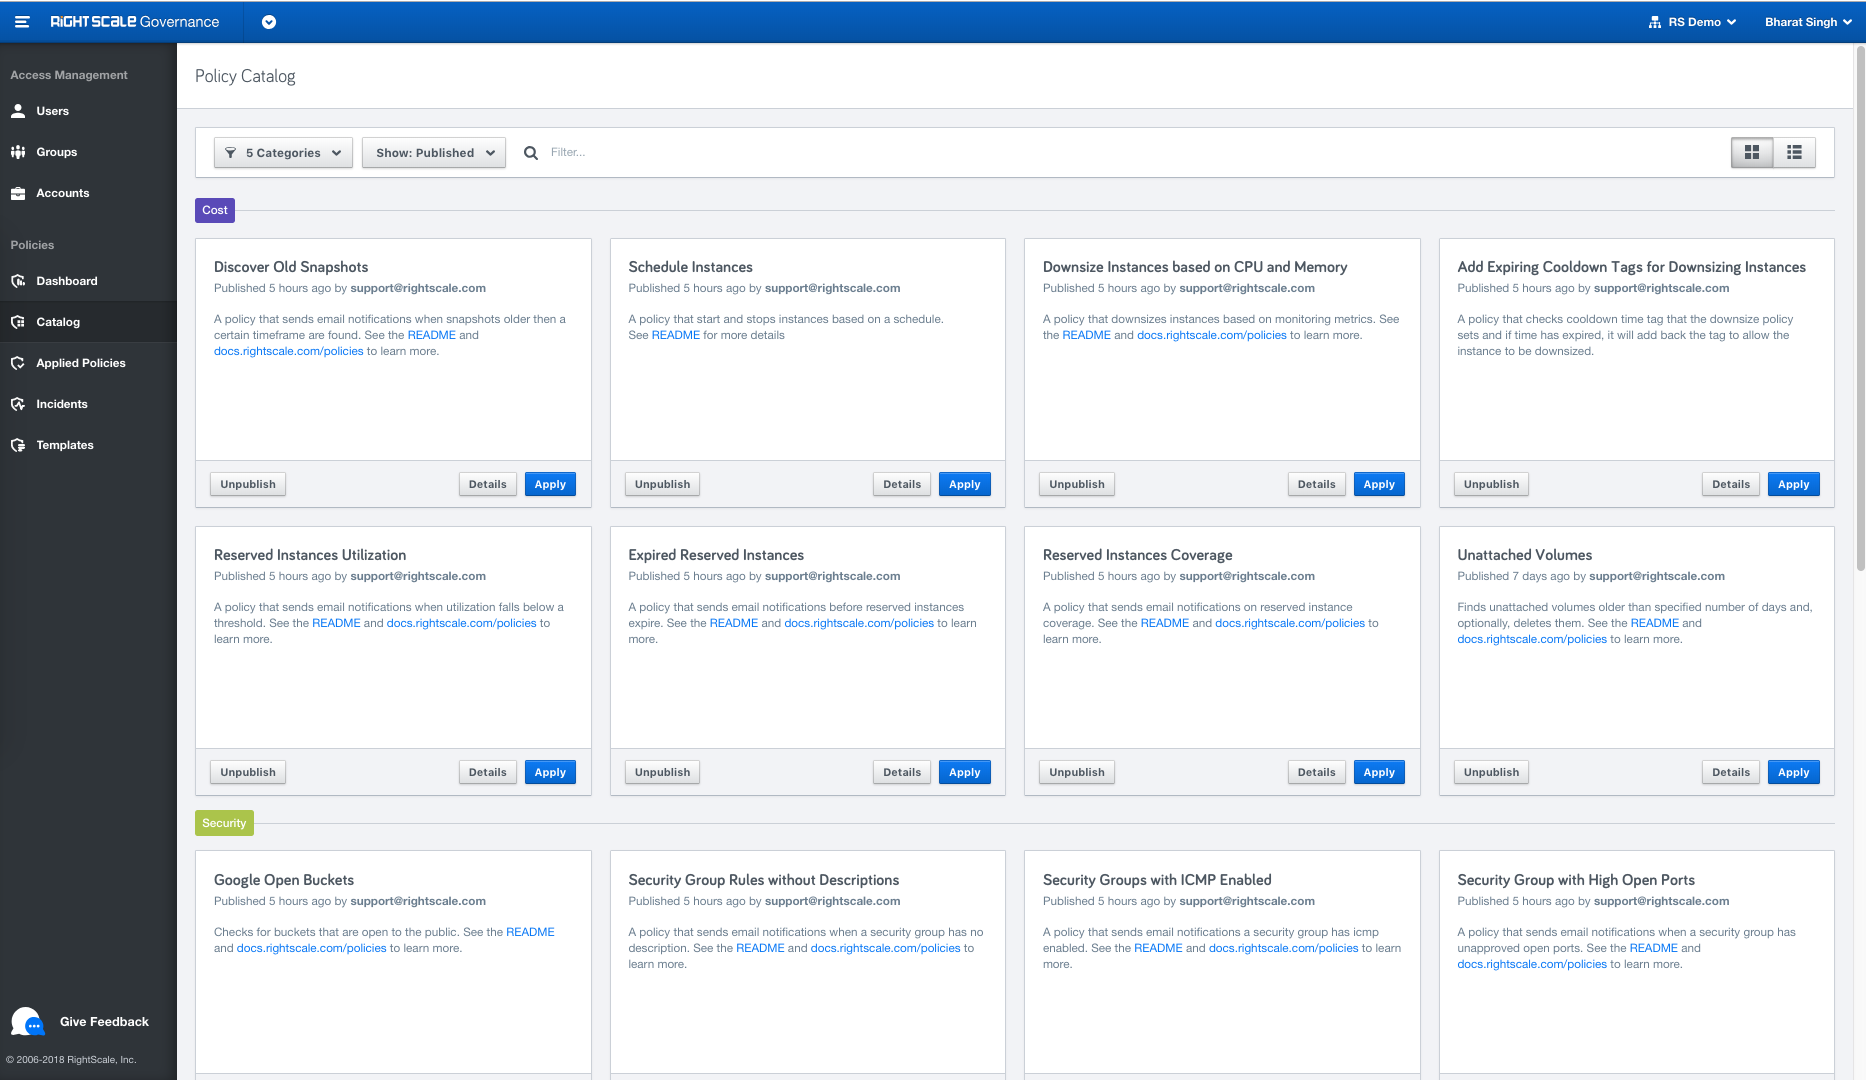
All Flexera policies are published to the Policy Catalog, shown below, where users can browse for policies that meet their needs. In addition to Flexera policies, your organization can develop and publish their own policies to the catalog for unique use cases. The policies are organized by category and can be searched by using the Filter bar at the top of the page.
Once you've found a policy that is relevant, click through to the README to read about the details of how the policy works and what actions are supported. To put a policy in place, press the Apply
button to configure the policy for your environment. Each policy may contain different configuration items based on what the policy does, but all policies have some common configuration parameters. Policies can be run in test mode first to ensure no changes are made to the environment, and then later edited to remove test mode and provide automated resolution actions.
How Policies Work
Policies work by reaching out to other systems via API calls to gather information,
Managing applied policies
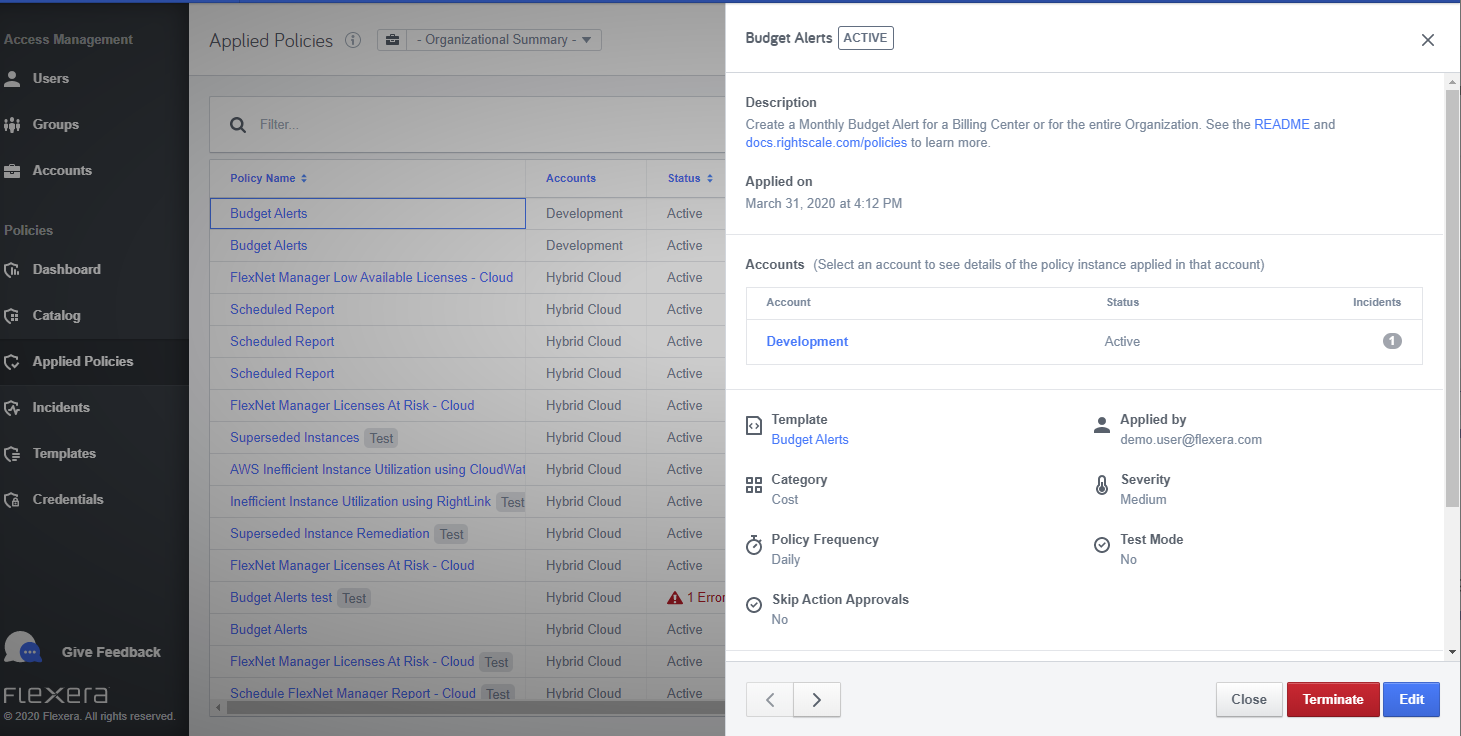
Every policy that is currently applied in an account is listed in the Applied Policies page. If you have access to more than one account, use the account picker in the top of the page to change accounts. Clicking on a policy will show the details of the policy, including:
- when it was applied, when it last ran, and when the next run will be
- who applied the policy and what configuration parameters they set
- the original template name, severity, and category of the policy
- any incidents that are currently active with this policy
To stop a policy, click on the Terminate button at the bottom of the page. Doing so will remove this policy and any related incidents from the system.
If there are any active incidents for this policy, click on the incident link to view detailed information about the incident.
Updating applied policies
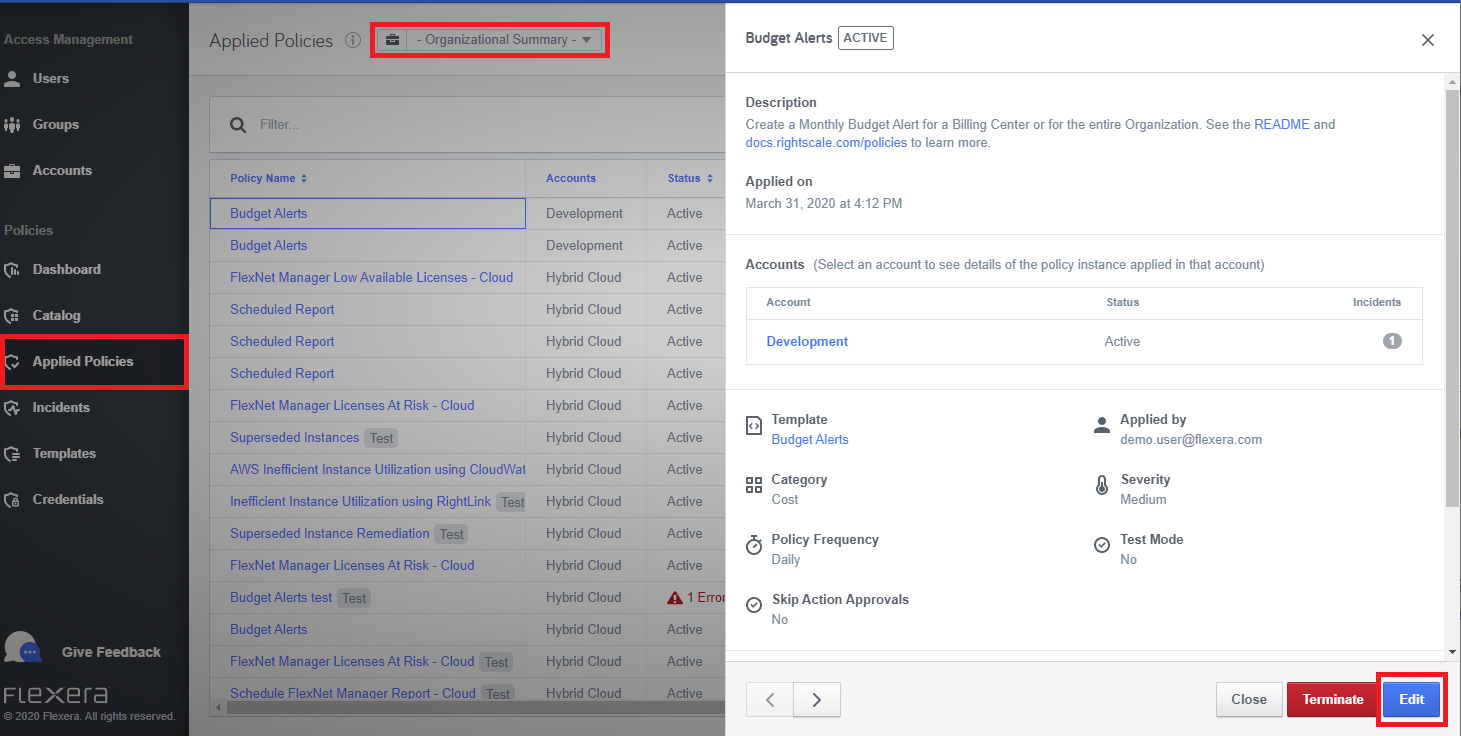
Configuration options can be updated for an applied policy from the Applied Policies page by selecting Organization Summary from the account selector drop down, choosing the policy to update and clicking on the Edit button. Updated policies will immediately evaluate after updating. For policies with no changes to frequency, an update will not effect their normal evaluation schedule.
Handling incidents
An incident is created when one or more resources fail the check that the policy performs. You can see the incidents by using the Incidents menu in the left-navigation menu, or by clicking through from an applied policy. The main Incident Details tab shows how many resources failed the check and allows for the manual running of actions. The Action Log tab indicates whether any incidents have pending approvals before mitigation actions are run, and displays the last 50 actions that have been taken on the incident. The Policy Details tab displays details about the policy.
Selecting an incident will show the details of the incident -- each policy has its own definition of what information to show as part of an incident. Many policies will have some kind of table that displays information about each of the resources that has violated the policy. When a table is present, you can export the data to CSV to work with locally.
In addition to resource information, policies frequently define escalation actions that occur when an incident is detected. These actions vary by policy, but are extremely flexible and can range from simply sending an email to taking an orchestrated set of actions to attempt to remediate the incident. The Actions panel on the right side of the incident display shows the action sequence and status of each action.
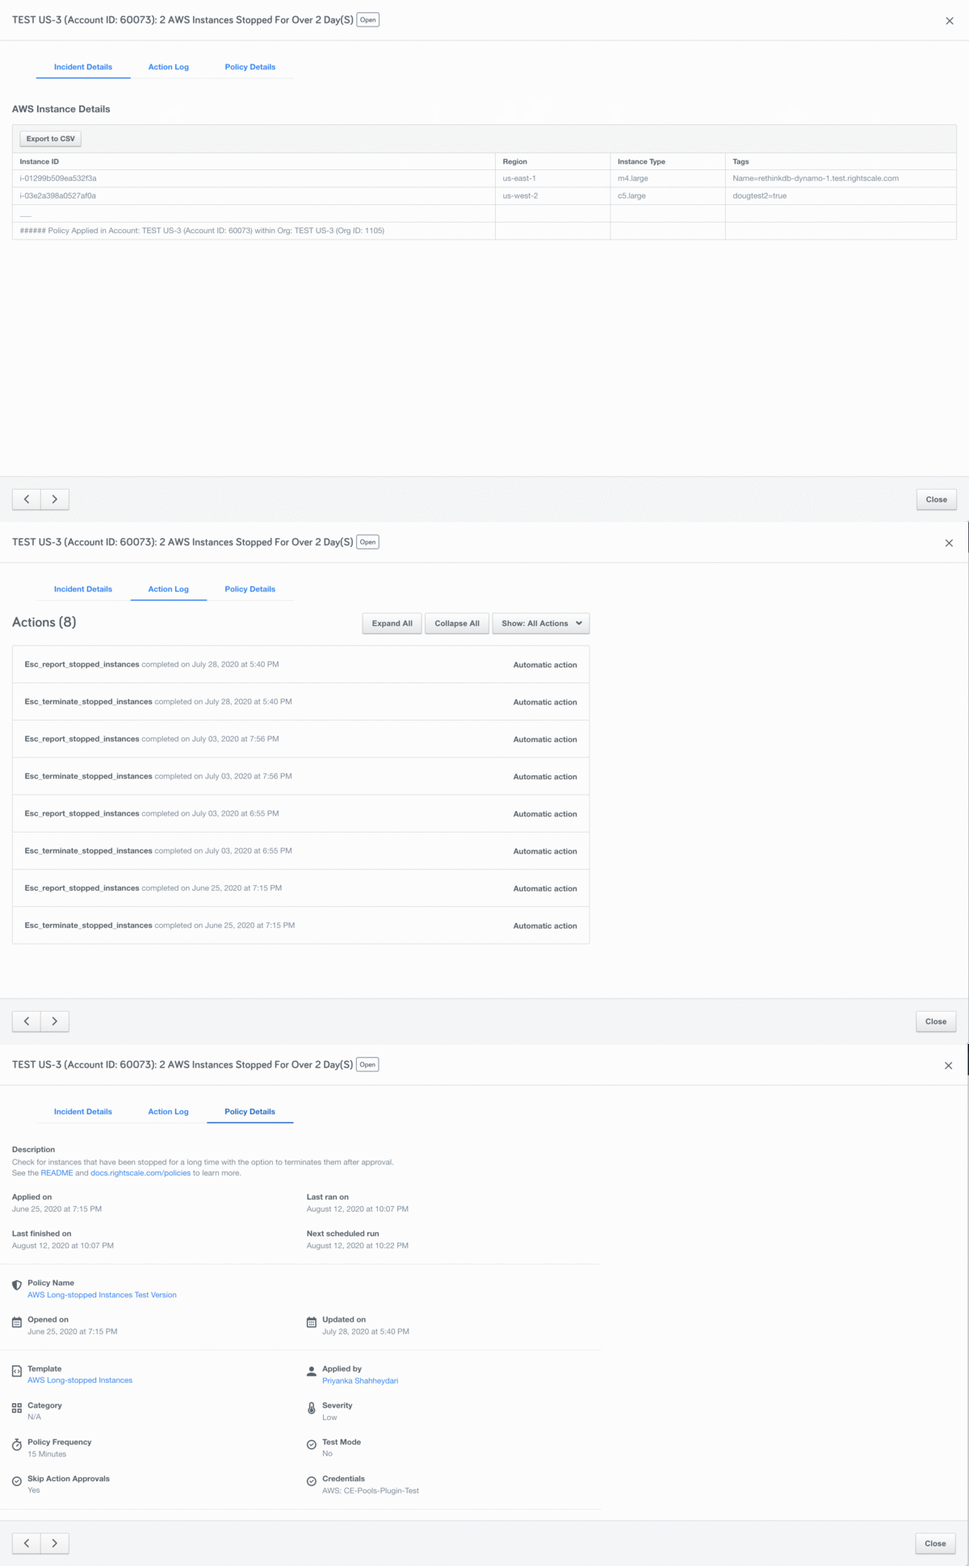
Manual approval steps
As part of an action sequence, a policy can define a manual approval step which will pause the action sequence until the action is approved or denied. In such cases, you will see an action in the Pending state and, if you have approval authority, a Deny and Approve button. If the action is denied, the action sequence is terminated. If the action is approved, the action sequence continues to the next action.
If the Skip Approvals checkbox was selected when applying the policy (see the Common configuration parameters section above) then all approvals are automatically approved
by the system, and the state for each approval will show Skipped.
Treat this option with caution as it could remove or change resource you wish not to change. Do no use this option on critical cloud resources such as those in a production or other critical environments.
This Skip Approvals option isn't available for policy templates with the Automatic Actions field.
Manually run an action
Escalation and resolution actions can be manually run using Run Action. Escalations must be run before an incident is resolved and resolutions after.
Select Actions
In the case of incidents for which multiple resources have failed validation, actions can be run on any individual or combination of those failed resources. The checkbox above the list of resources can be used to select or deselect all resources. Actions can also be run on individual actions by the dropdown menu to the right of the screen.
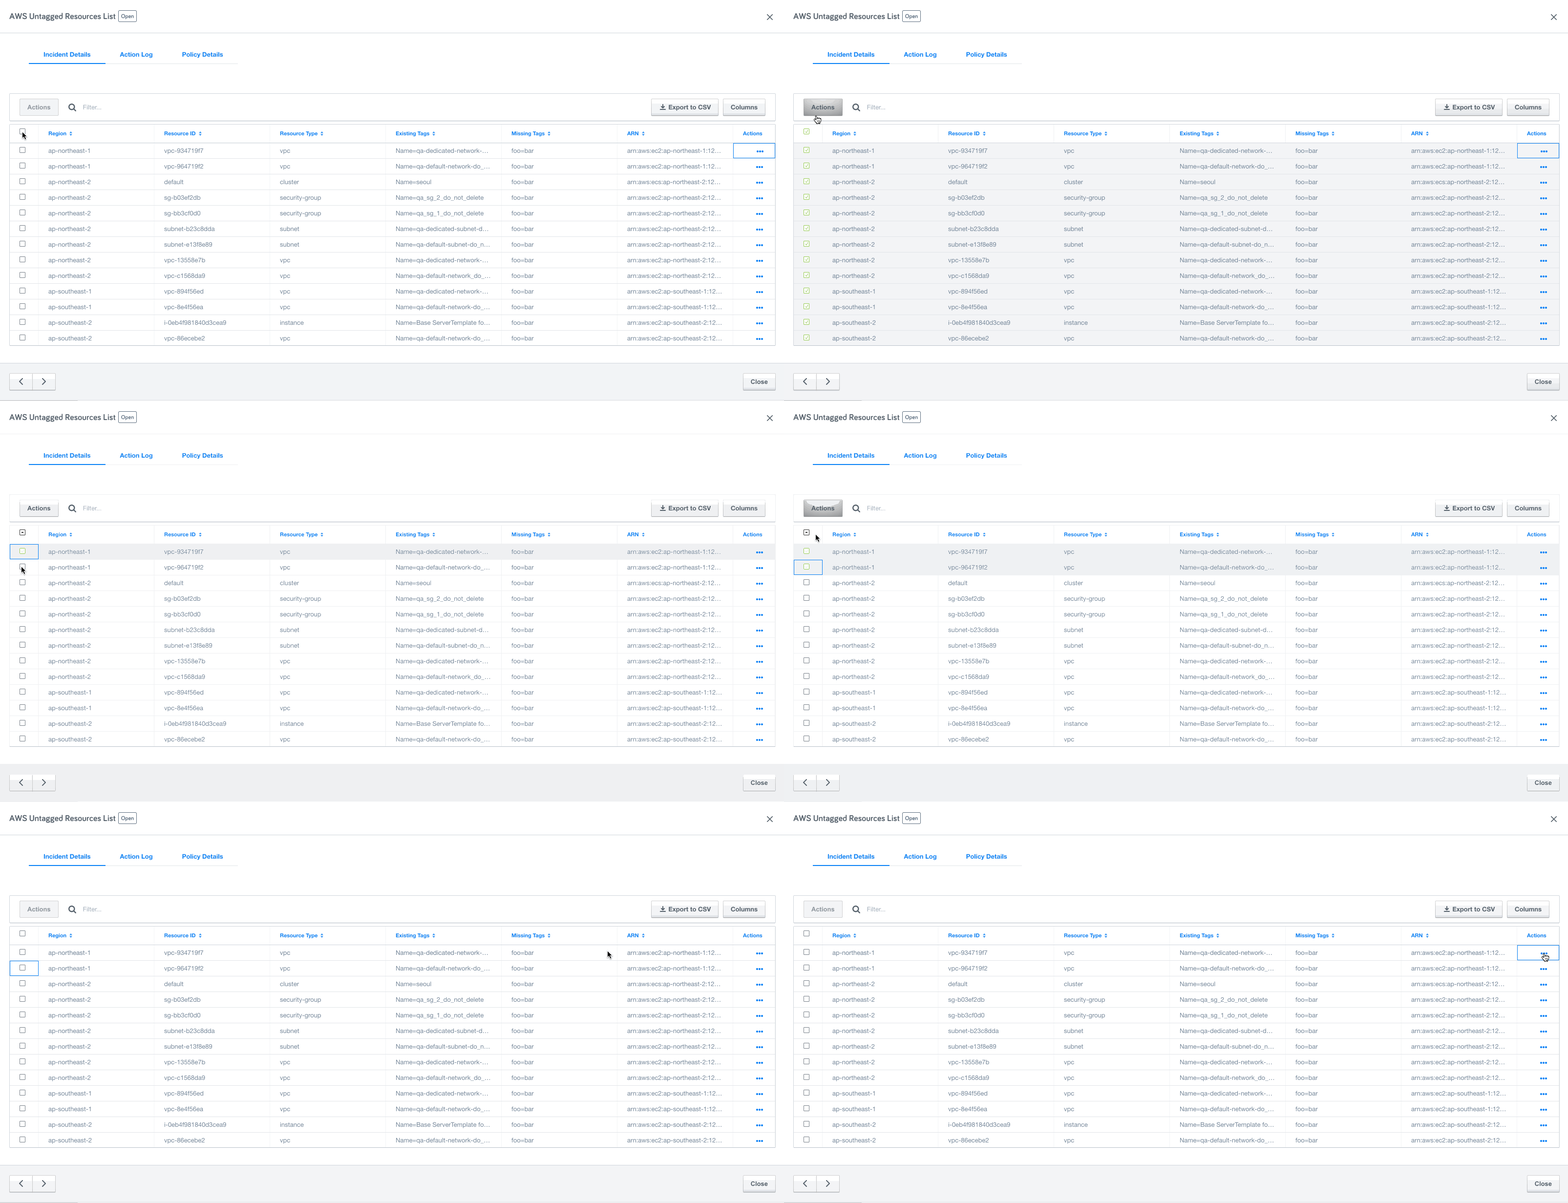
Many policies from the Flexera Policy Catalog support the Select Actions feature. These policies also have the option to run one or more actions automatically. When the Automatic Action field includes the action(s), those actions are run automatically on all resources when the incident is created. This functions similarly to the Manual approval step Skip Approvals mentioned above. See the policy template README for more details
Treat this option with caution as it could remove or change resource you wish not to change. Do not use this option on critical cloud resources such as those in production or other critical environments.

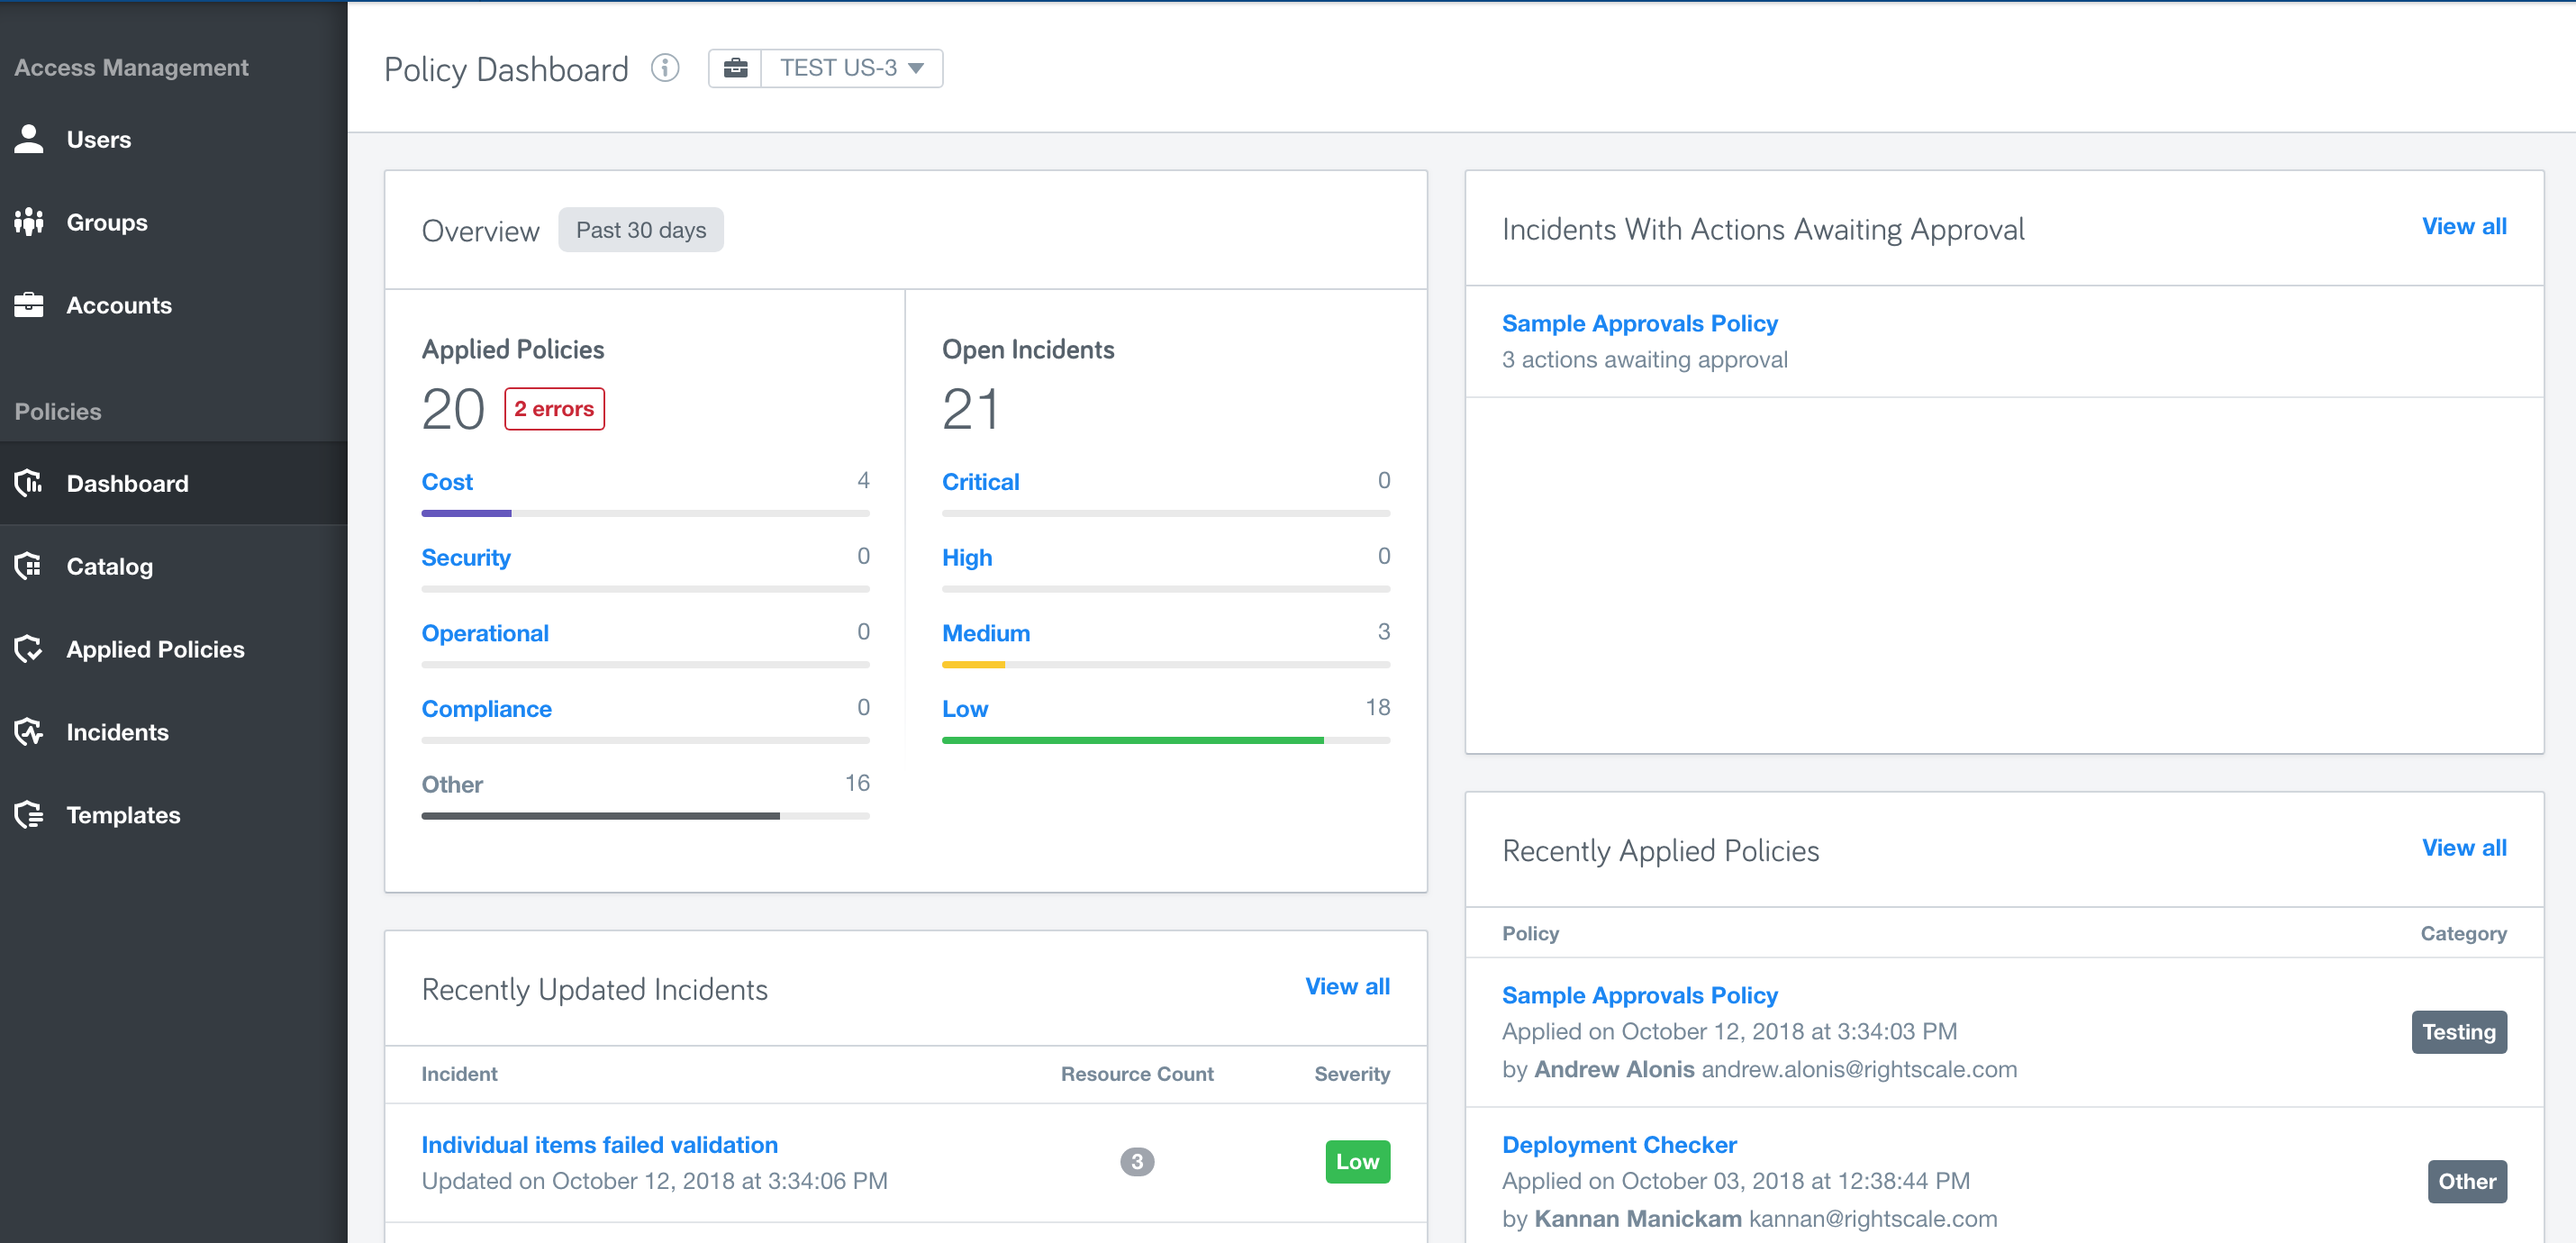
The policy dashboard
The policy dashboard provides an overview of all of the policy information in the selected account. It includes a summary of the number of policies running, open incidents, actions awaiting approval, and more. This is a great page to bookmark and start with when you are managing policies on a day-to-day basis.
