Creating a trust relationship in Google SSO
In order to setup SSO between Google and RightScale, you need to configure SSO setup on Google first followed by setting it up on RightScale. We have summarized the instructions here but you can also follow SAML-based Federated SSO
Set up your own SAML app
- Click Apps > SAML apps.
- Select the Add a service/App to your domain link or click the plus
(+)icon in the bottom corner. - Click Setup my own custom SAML App.
- There are two ways to collect the service provider Setup information:
You can copy the Entity ID and the Single Sign-On URL field values and download the X.509 Certificate, paste them into the appropriate service provider Setup fields, and then click Next
OR
You can download the IDP metadata, upload it into the appropriate service provider Setup fields, and then come back to the admin console and click Next. - In the Basic Application Information window, add an application name and description.
- (Optional) Click Choose file next to the Upload Logo field to upload a PNG or GIF file to serve as an icon. The file size should be 256 pixels square.
- As shown in the screenshot below, in the Service Provider Details window, enter the details. You can copy paste appropriate URLs from RightScale SAML settings.
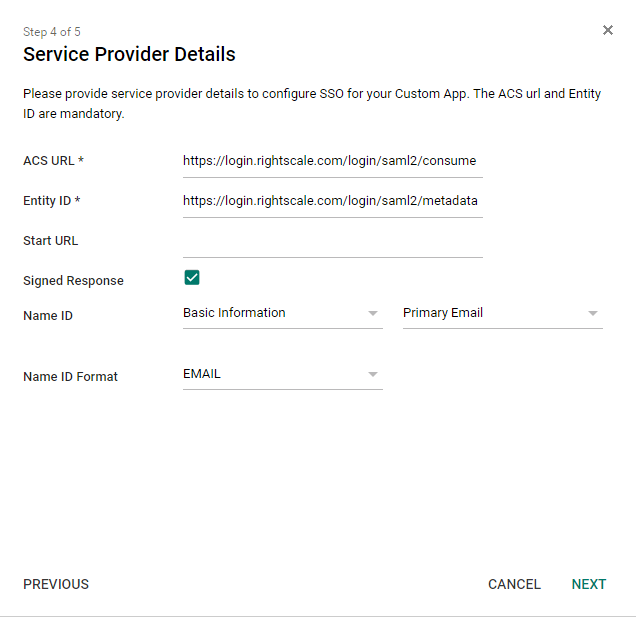
- Check Signed Response checkbox.
- In the Name ID Format field, select EMAIL from the dropdown.
- Click Next.
- Ignore Add new mapping for now. We will set it up as part of Step 2: Set up assertion mapping for user metadata later.
- In the drop-down list, select the Category and User attribute to map the attribute from the G Suite profile.
- Click Finish.
Turn on SSO
- Go to Apps > SAML apps.
- Select your new SAML app. At the top of the gray box, click More Settings and choose:
- On for everyone to turn on the service for all users (click again to confirm).
- Off to turn off the service for all users (click again to confirm).
- On for some organizations to change the setting only for some users.
- On for everyone to turn on the service for all users (click again to confirm).
- Ensure that your user account email IDs match those in your G Suite domain.
Verify SSO
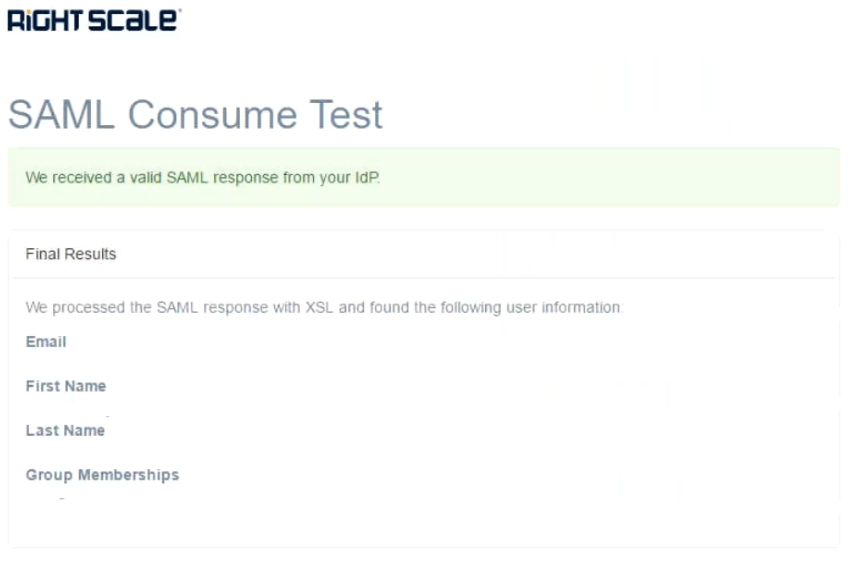
- Open the single sign-on URL for your new SAML app. You should be automatically redirected to the G Suite sign-in page.
- Enter your sign-in credentials.
After your sign-in credentials are authenticated you will be automatically redirected back to your new SAML app.
Creating a trust relationship in RightScale
In this section, we will set up a trust relationship for Google SSO within RightScale. As a result, RightScale will know your identity provider's information, which permits your IdP to initiate logins.
You must have the enterprise_manager
role for the RightScale account you wish to associate with Google SSO.
- In a new tab in your browser, navigate to the account you wish to administer in RightScale.
- In the blue nav menu at the top of the screen, select
Settings
and navigate toSingle Sign-on
under theEnterprise
section. (If you do not see this option, then you do not have theenterprise_manager
role for the current account.) - On the resulting page, you should see a list of existing SAML Identity Providers near the top and, above the list, you should see a
New
button. Click theNew
button. In the resulting form, enter the following values:
Input Name Value Display Name Your choice, e.g. MyCompany Google SSOLogin Method Leave Allow RightScale-initiated SSO using a discovery hint
uncheckedSAML SSO URL Enter Google SSOs' SAML request endpoint e.g. https://accounts.google.com/o/saml2/idp?idpid=xxxxxxxSAML EntityID Enter Google SSOs' entity ID e.g. https://accounts.google.com/o/saml2?idpid=xxxxxxxxSAML Signing Certificate Upload the x509 certificate that Google SSO uses to sign its SAML assertions Click the
Save
button and you will be returned to the Identity Provider list page. You should see your newly created IdP in this list.Next, click the button to the right to test your IdP configuration. You should be redirected to your IdP where you can log in and complete the SSO login.
Finally, if you wish to have new users provisioned via SSO then you will need to Enable authority for your new IdP over the SAML-asserted email domains.
This concludes configuration of your SAML Identity Provider in RightScale. Please continue on to Step 3: Test IdP-Initiated Single Sign-On.