Overview
A Volume Snapshot represents a Cloud storage volume at a particular point in time. Don't confuse this with a database snapshot, this is a snapshot of the entire volume, regardless of whether it contains a database or not. You can create a snapshot regardless of whether or not a volume is attached to an Instance. When a snapshot is created, various meta data is retained such as a Created At timestamp, a unique Resource UID (e.g. vol-52EF05A9 or GEDtestVolume), the Volume Owner and Visibility (e.g. private or public). Snapshots consist of a series of data blocks that are incrementally saved. Create clones of volumes from any snapshot. You cannot attach the same volume to multiple instances. Instead, you must first take a snapshot of the volume. Then create a clone of the volume from the snapshot and specify the appropriate availability zone.
There is currently no way to manipulate the sharing/visibility of a generic Volume Snapshot. However, for private clouds that support the notion of Volume Snapshot sharing we do discover and display Volume Snapshot's visibilities.
Creating a New Volume Snapshot
Use the following procedure to create a new Volume Snapshot that can then be used to create a new Volume or be attached to a Server.
Steps
- Navigate to Clouds > CloudName > Volumes.
- Click the (camera) action icon of the Volume you want a snapshot for.
- Fill out the Name and Description fields (see below).
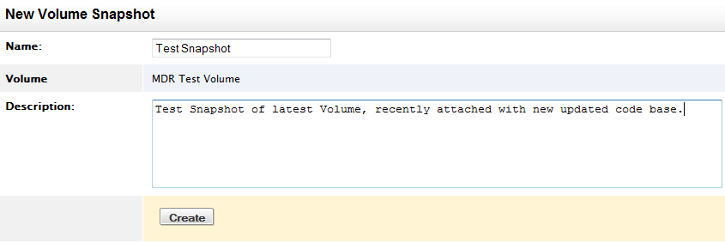
- Click the Create action button when ready. The following should happen:
- The information on the Volume's Snapshot tab is updated.
- The Volume's Index page Snapshot count is incremented as well as the Last Age.
- You should get a flash message similar to the following:
Snapshot Test Snapshot was successfully created.