Overview
This page walks you through the steps to connect your Azure Resource Manager account with RightScale for management purposes using an Azure Active Directory Application that you create in your own Active Directory tenant. This approach allows you full control over the privileges the Application has to your subscription(s) and requires that you take responsibility for key rotation. An alternative method to connecting for management purposes is to connect to Azure Resource Manager using the RightScale Service Principal.
This approach is only possible using API calls to RightScale and can not be performed using the Cloud Management User Interface.
If you are part of the Azure CSP program and wish to connect your partner data to RightScale for cost reporting purposes, see Connect Azure CSP to RightScale for Cost Reporting.
If you wish to connect your Azure Enterprise Agreement to RightScale for cost reporting purposes, see Connect Azure Enterprise Agreement to RightScale for Cost Reporting.
Prerequisites
- You must have a Azure Resource Manager subscription to register with RightScale
- You must be
adminorenterprise_manageron the RightScale account
Using an Azure Active Directory Application
Azure Active Directory (AD) Applications are identitys that you create and control within your own AD tenant and can be granted privileges on the resources that you specify. These applications have their own login credentials and are intended to be used in code, such as in RightScale.
At a high level, the following steps must be completed in order to register an Azure subscription with RightScale using an AD Application:
- Create the AD Application - creates the application in your Active Directory tenant. You can use the same application to register multiple subscriptions
- Get the application ID and authentication key - obtain the login information RightScale needs to interact with the subscription(s)
- Get the tenant ID - obtain additional information needed by RightScale to use the AD application
- Assign the AD application a role on the subscription - grant the desired permissions on the target subscription(s)
- Perform an API call to RightScale with the above information to register the subscription - perform the registration
Steps 1-4 above are well-documented on the Azure website and those instructions can be followed (see notes below).
Please note that in Step 2 your authentication key has an expiration date. Ensure that this key is rotated prior to the expiration date in Azure and in RightScale to prevent any service interruptions.
In the instructions for Create an Azure Active Directory application, step 5, you can use any URL - we recommend https://my.rightscale.com.
In the instructions for Assign application to role, RightScale requires the Contributor role on the subscription for full management capabilities. Reader role can be granted in order to allow RightScale to read information from the subscription, but prevent any active orchestration of resources.
In the final step, also collect the ID of the Subscription that you have added the application to which can be found in the Overview page for the Subscription.
Step 5 is documented in the API examples. Note that the API call must be completed for every region that you wish to add to RightScale -- you may register as few or as many regions as you wish.
Check the Cloud Status
Log in to RightScale Cloud Management, go to Settings > Account Settings > Clouds. You should be able to view all the registered Azure Resource Manager Regions
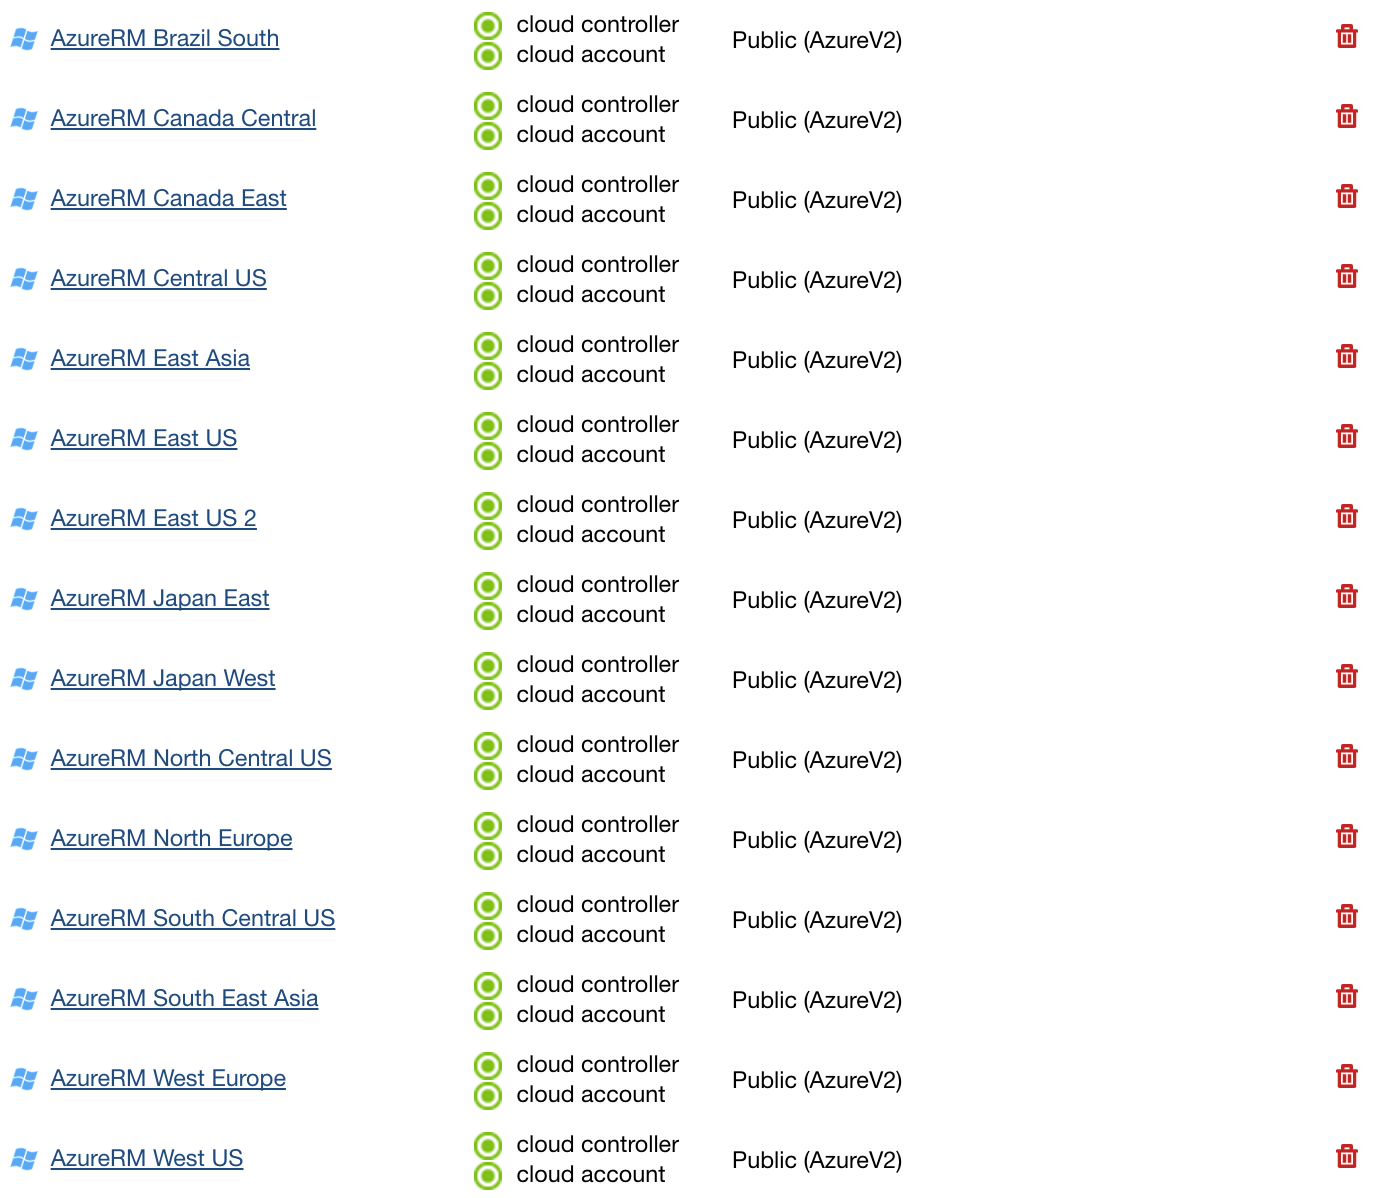
Once your cloud credentials have been verified, you will see that the Microsoft Azure Resource Manager cloud is enabled under the Clouds tab. You will now see all of your Microsoft Azure Resource Manager resources under the Clouds menu (Clouds > AzureRM). You may need to refresh the tab to view your newly added Azure Resource Manager cloud.
Adding Newly Supported Regions
As RightScale adds support for additional ARM Regions, complete the steps above using the new cloud_href value for the new region.